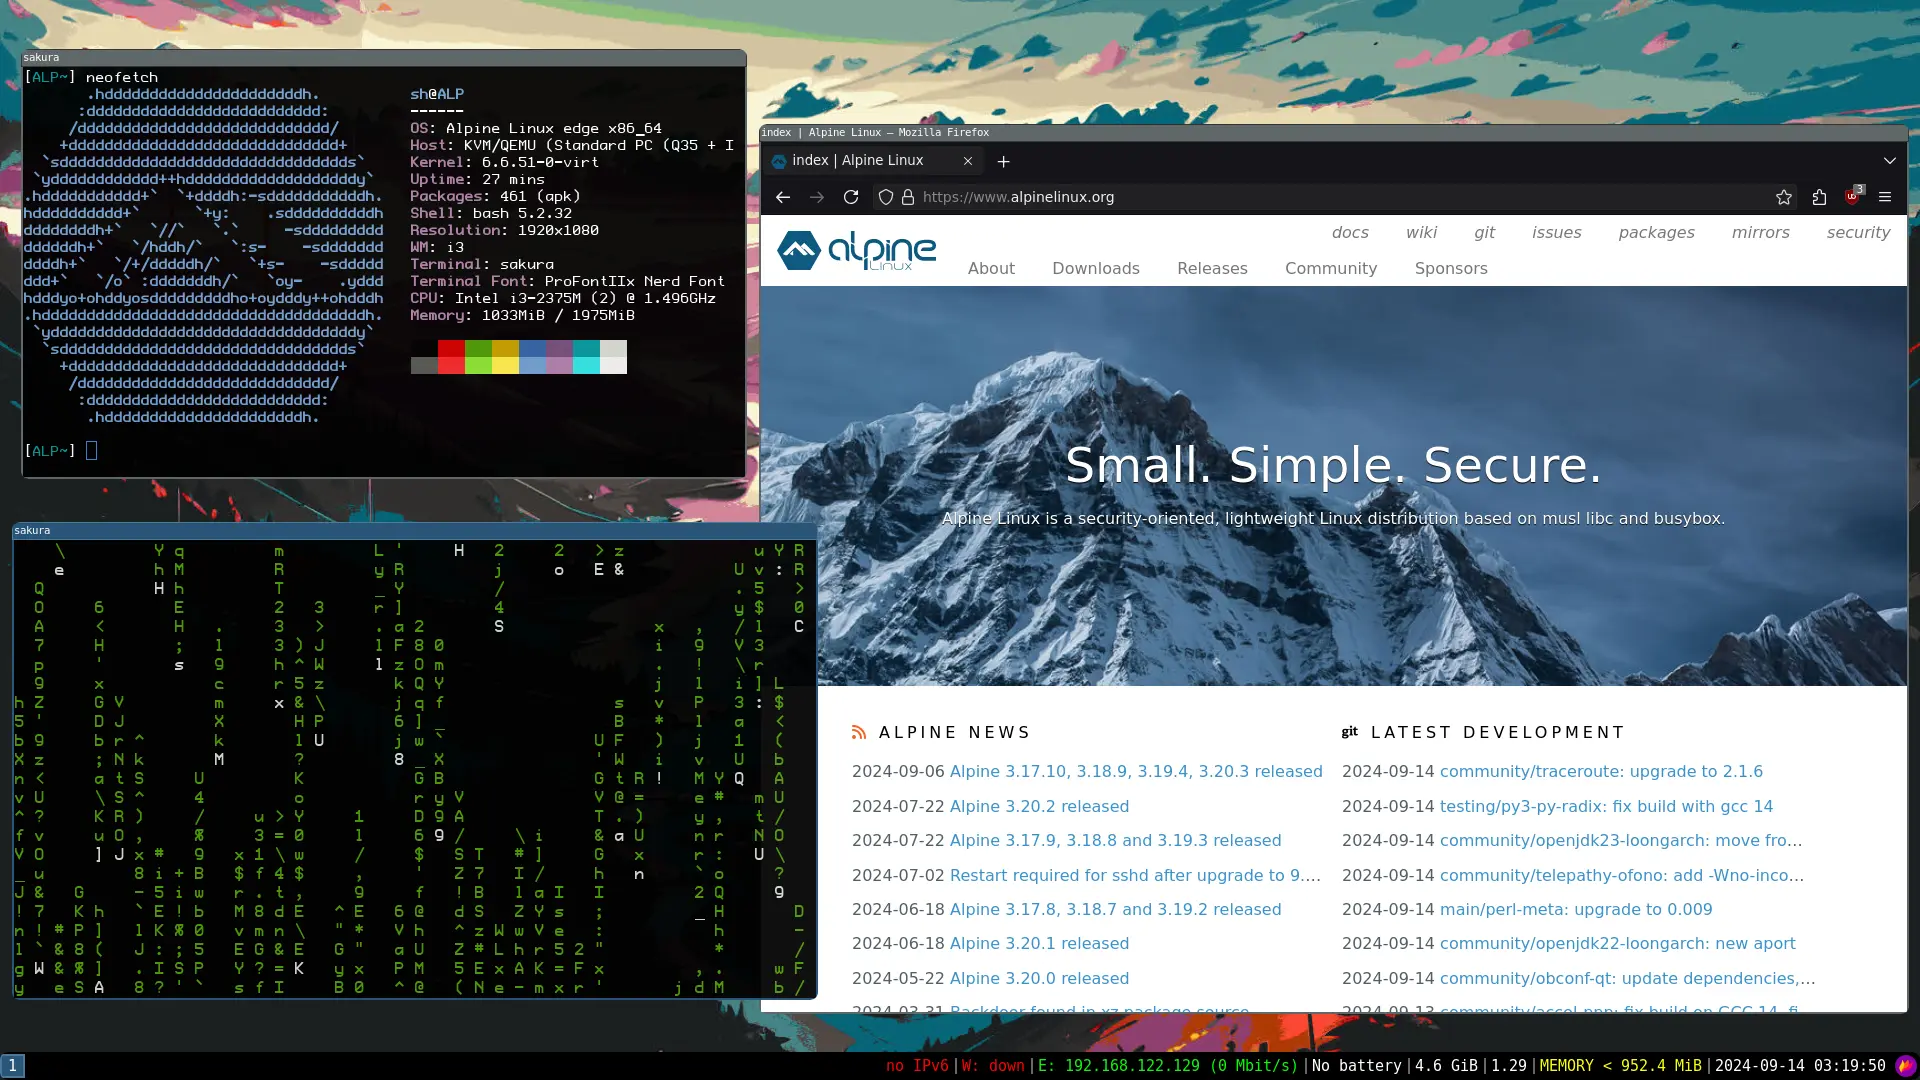
Step 1: Install Alpine Linux
Follow these steps to install Alpine Linux:
- Download Alpine Linux from the official website.
- Create a bootable USB using tools like
dd, Rufus, or balenaEtcher.
- Boot from the USB and follow the installation process using
setup-alpine.
Step 2: Install i3 Window Manager
After installing Alpine, update your repositories and install i3wm:
doas vi /etc/apk/repositories
Edit the apk repositories to enable community/edge/testing repos, and change the version in the links to edge:
#/media/cdrom/apks
http://your.specific.mirror/alpine/edge/main
http://your.specific.mirror/alpine/edge/community
http://your.specific.mirror/alpine/edge/testing
Step 3: Configure doas Privileges
Edit /etc/doas.d/doas.conf to avoid typing your password every time you run doas:
permit nopass yourUserName as root
Step 4: Update System and Install Xorg
Update and upgrade the system:
doas apk update
doas apk upgrade
Install Xorg and i3:
doas setup-xorg-base
doas apk add i3wm i3status dmenu sakura xrandr setxkbmap feh dbus font-dejavu adwaita-icon-theme chromium thunar flameshot
Note: Add your user to the input group:
doas adduser yourUserName input
Step 5: Install LightDM
Optionally, you can install the LightDM display manager:
doas apk add lightdm lightdm-gtk-greeter
doas rc-update add lightdm
If you prefer not to use a display manager, you can create a ~/.xinitrc file to start i3 manually:
echo "exec i3" > ~/.xinitrc
startx
Step 6: Install Picom for Compositing
Install Picom to handle screen tearing and add visual effects:
doas apk add picom
Copy the default configuration and set Picom to autostart:
mkdir -p ~/.config/picom
cp /etc/xdg/picom.conf.example ~/.config/picom/picom.conf
Add this line to your i3 config (.config/i3/config) to autostart Picom:
exec --no-startup-id picom --config ~/.config/picom/picom.conf
Step 7: Install Developer Tools
Install developer tools for your setup:
doas apk add git make libx11-dev libxinerama-dev libxft-dev g++ fontconfig-dev ncurses curl
Step 8: Enable Services and Autostart Programs
Enable dbus:
doas rc-update add dbus
doas rc-service dbus start
Autostart Picom, Sakura, and other applications by adding them to your i3 config:
exec --no-startup-id picom
exec --no-startup-id feh --bg-fill /path/to/wallpaper.jpg
exec --no-startup-id flameshot
exec --no-startup-id sakura
Step 9: Set up GTK Themes and Icons
Install lxappearance to configure your GTK themes, icons, and cursor:
doas apk add lxappearance
Note: You can install any GTK themes or icon packs you prefer, such as:
doas apk add mate-themes papirus-icon-theme capitaine-cursors
Step 10: Enable Audio with ALSA
Install alsa-utils to enable audio:
doas apk add alsa-utils
Now, run alsamixer and press m on your keyboard to unmute the sound. Use the up arrow to increase the volume level.
Note: If you have multiple audio devices, press F6 to select the device you want to use, or stick with the default one.
Note: To save your settings, run the following command in the terminal:
doas alsactl store
